Moved to AncestralChef.com
I have moved to blogging at AncestralChef.com.
Please follow me there for more delicious recipes!! If you haven’t seen my new FREE iPad e-book, then check it out on your iPad here. You can also reach me on Twitter, Facebook, Pinterest, or Google+.
I am also featured in the first issue of Paleo Living Magazine for iPad (full of videos, interactivity, and gorgeous pictures!), and you can download the first issue for FREE here.
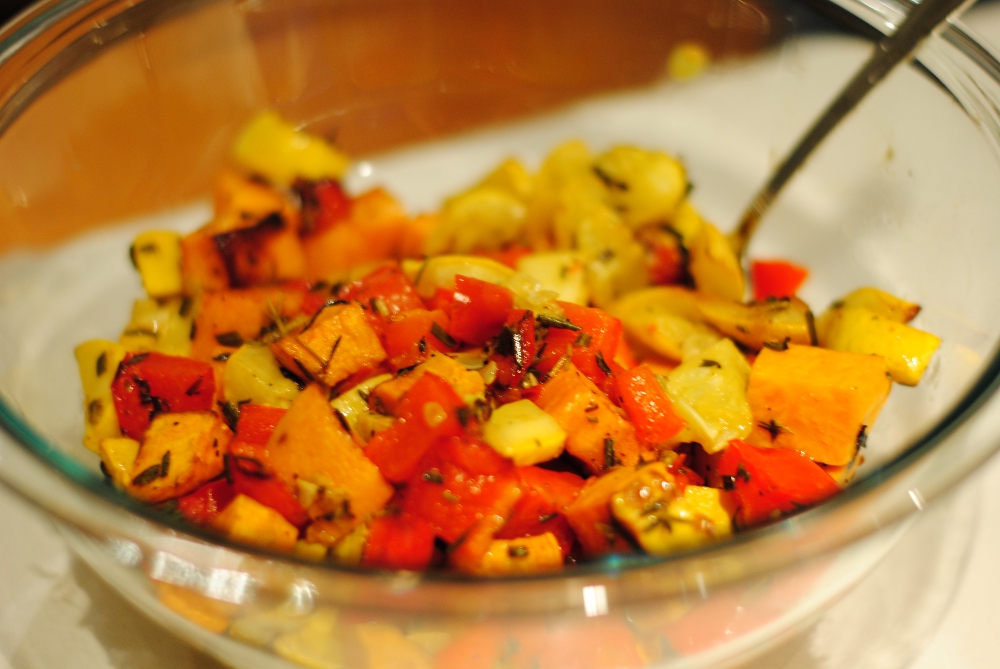
Rosemary Thyme Roasted Vegetables Recipe
This is very healthy vegetable dish that tastes delicious and is easy to make. I modified it from a allrecipes.com recipe. You can change the sweet potato to an eggplant or some mushrooms if you want to lower the carbs.
| Rosemary Thyme Roasted Vegetables Recipe |
- 2 yellow squash, cubed
- 2 red bell peppers, seeded and cubed
- 1 sweet potato, peeled and cubed
- 1 tablespoon fresh thyme, chopped
- 2 tablespoons fresh rosemary, chopped
- 1/4 cup olive oil
- 2 tablespoons red wine vinegar
- salt and pepper to taste
- Preheat oven to 475F.
- Mix together in a small bowl the thyme, rosemary, olive oil, red wine vinegar, and salt and pepper.
- In a large bowl, mix together all the vegetables with the mixture, so that all the vegetable pieces are well coated with the mixture.
- Place in casserole dish and bake for 35-40 minutes or until the vegetables start turning brown. Stir every 10 minutes to prevent the vegetables from sticking to the casserole dish.
Dried Fruit and Vegetable Snacks – Dehydrator Frenzy
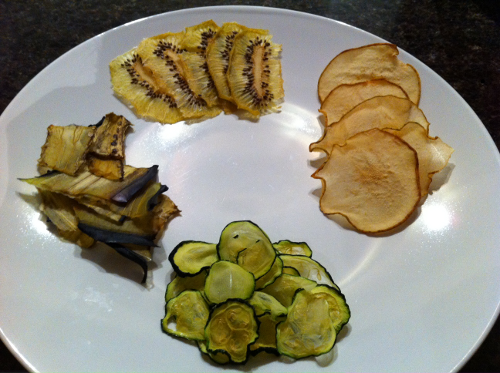
Dried in the dehydrator: (from top clockwise) kiwi, Bartlett pear, zucchini (courgette), eggplant (aubergine)
Dehydrator?? I recently bought a dehydrator, which just dries out various foods like fruits, vegetables, and even meats (think beef jerky). It’s a simple device – it basically blows hot air at your foods until they become dry. It’s reasonably cheap for a food device -mine cost $60 on Amazon. I got the Nesco FD-75PR 700-Watt Food Dehydrator, which comes with 5 trays to place food on and has a variety of temperatures for drying different foods. See the pictures below.
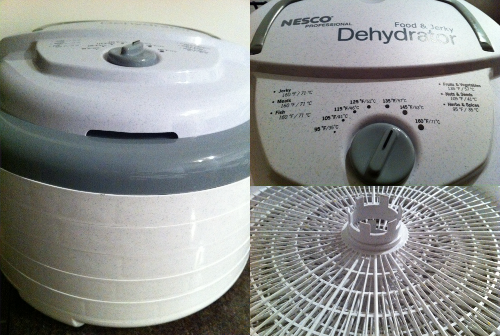
3 Pictures of the Nesco FD-75PR 700-Watt Food Dehydrator
How to Dehydrate Foods? It’s so easy to dehydrate foods. For the veggies, I like to slice them into thin slices (around 1 millimeter thick) so that it doesn’t take too long for them to dry. I also like to salt them, which makes them taste better and helps to dry them faster (you can also try adding spices to them) – so boil some water and add a bunch of salt and dump the sliced veggies into the water for 1 minute. Fish them out quickly before they get too soggy. Then place the slices on the dehydrator. I dehydrated the zucchini and eggplant slices for around 9 hours – it’s a bit of a trial and error game because it was difficult to get the slices the same thickness, and the drying time really depends on how thick the slices are. For pears and kiwis, I cut them into thin, 1-2 millimeter slices. They took a little longer to dehydrate though (probably because they were thicker and didn’t have any salt on them). I put them in for 11 hours, and they came out pretty crispy but still a tad chewy and leathery (so it’s not going to break at the touch).
Why dehydrate fruits and vegetables when they taste perfectly good fresh? There are a variety of reasons for this! First, it allows the foods to stay fresh for much longer, so you can buy of box of apples (which is often cheaper than buying them a few a time – think Costco!) and eat those apples several months later. Then, there’s the variety – the dried fruits and veggies are a great snack that you can take with you anywhere in a small ziploc bag. Also, dehydrated fruits and veggies are “not cooked” so they count as raw food if you’re on the raw food diet. It’s super healthy and tasty. I’ve noticed these kale chips in Wholefoods recently. They cost a fortune (they’re not trying to rip you off – it really just cost a lot to produce them!), but you can make your own by buying some kale, salting it, and dehydrating it!
I started making some dried watermelon slices…
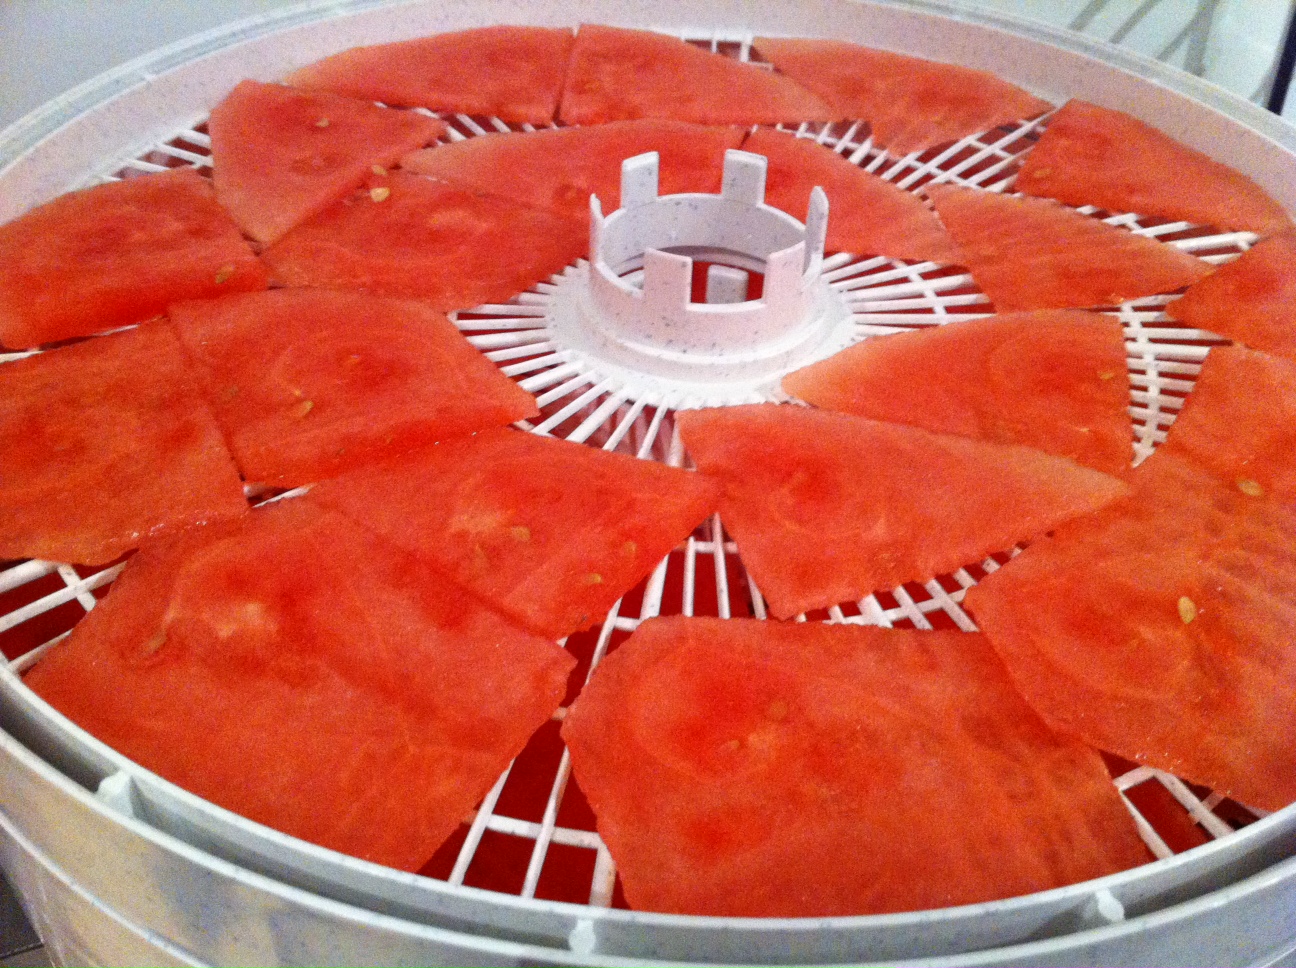
Watermelon sliced thin in the dehydrator (before dehydrating).
Low Carb Pasta
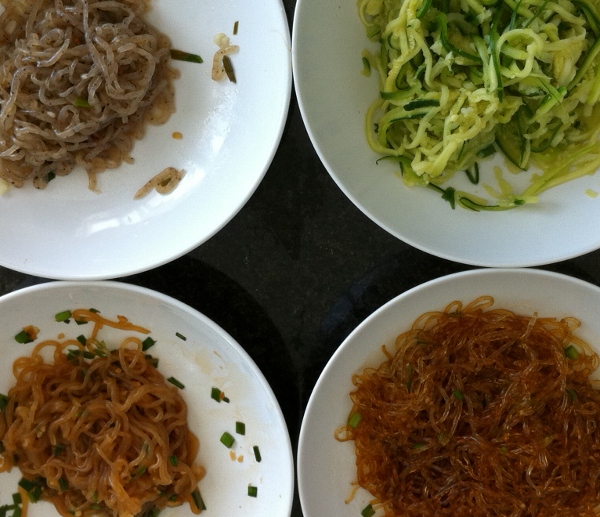
4 Great Low Carb Pasta/Noodles
It’s hard living without noodles and pasta, especially when instant ramen noodles and quick pasta dishes played such an important part of my college life! Here’s 4 noodles/pasta you can eat on a low carb diet – they all have practically no calories and no carbs (the 3rd and 4th noodles are different variations of each other)!
1. Zucchini Noodles Start with 3 zucchinis and a Julienne peeler (kinda like a potato peeler but it cuts everything into thin strands at the same time). Cut each zucchini in half lengthwise, place the flat side down onto your chopping board and start peeling away with the Julienne peeler. It’s easy to use – just pull down like in the photo. You end up with strands of zucchini noodles ready to cook.
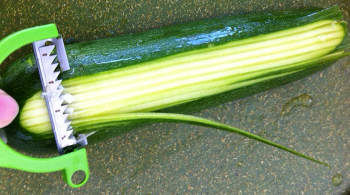
Making Zucchini Noodles using a Julienne Peeler
There are various ways of cooking the zucchini noodles. The easiest is to put a bit of olive oil into a frying pan. Add some minced garlic and chopped chives and then put in the zucchini noodles. Cook in the frying pan for a minute, add salt to taste, drain and serve. Out of the 4 noodles, these were definitely my favorite!
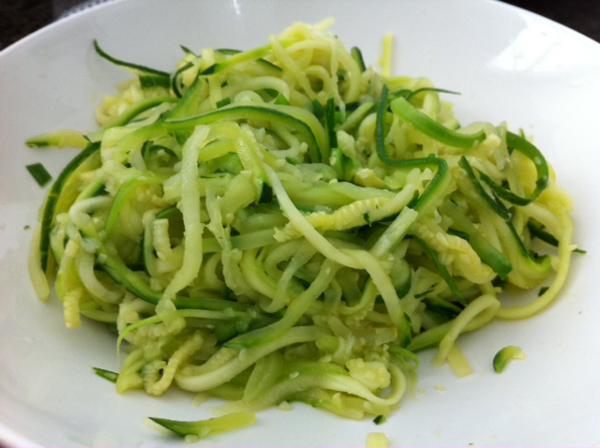
Zucchini Noodles Cooked with Olive Oil, Garlic and Chives
2. Kelp Noodles I picked up this packet of kelp noodles for $2.49 from my local Korean supermarket (H-Mart on 32nd St., New York). Kelps are large seaweeds according to Wikipedia – they’re fat-free, gluten-free, low-calorie (55 cals per 12oz pack, which can serve 2 people) and 0 net carbs (11g of fiber).
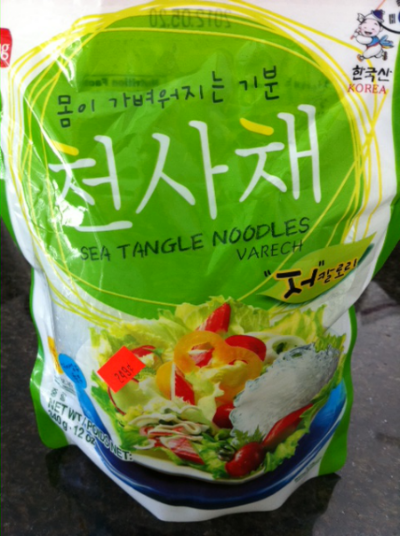
Kelp Noodles from Local Korean Supermarket
The noodles are edible straight from the packet, but are rather crunchy and have no flavor. I washed the noodles in cold water and then squeezed out the excess water. I then added some soy sauce, sesame oil, garlic, and chives, and then mixed it all together in a bowl. I put the bowl into the microwave for 30 seconds on high and poured out any excess liquids afterwards. The noodles were still rather crunchy, but not bad.
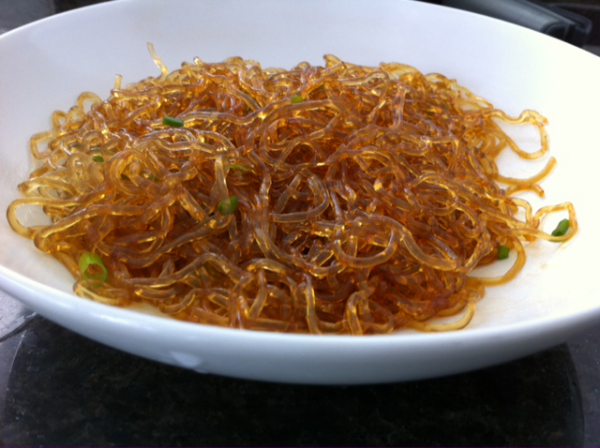
Kelp Noodles Microwaved with Soy Sauce, Sesame Oil, Garlic, and Chives
3. Shirataki Noodles (White) I tried these noodles a while ago as Wholefoods sold them and they had gotten a lot of press as a diet food. They’re made from the root of a type of asian yam (sometimes called konjac or elephant yam), but unlike the yams that we’re used to which contain a lot of net carbs, these so called “yam” plants have pretty much all fiber. Each 1 oz packet contains less than 1g of net carbs and 0 calories. The packet pictured below are white Shirataki Noodles (also called Yam Noodles) that contain no tofu or soy. Some manufacturers make a tofu Shirataki noodle, which as you might have guessed contains tofu. Supposedly, the tofu makes the noodles less rubbery, but it also adds some carbs to the noodles.
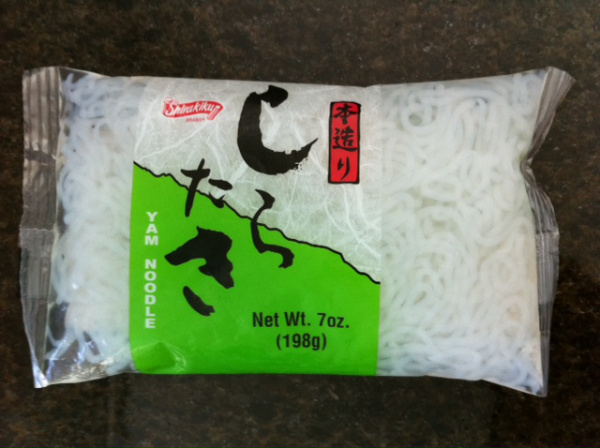
White Yam Noodles
How to cook them? Take them out of the packet and wash them with cold water 3 times. I find the noodles to smell a bit fishy (literally), and so I like to rinse them well. Then place the noodles into the microwave and cook on high for 30 seconds – this helps to get rid of the fishy smell and makes them less rubbery. Rinse again in cold water. Add in soy sauce, sesame oil, garlic, and chives and mix together. Cook again in the microwave on high for 20 seconds. Drain the excess liquid and serve.
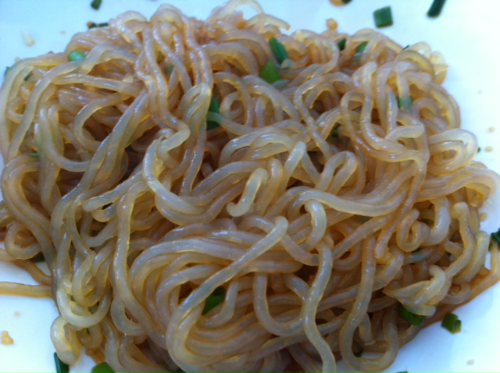
White Yam Noodles Microwaved with Soy Sauce, Sesame Oil, Garlic, and Chives
4. Shirataki Noodles (Brown) These are basically the same as the white shirataki noodles except they have some seaweed food-coloring in them! They taste pretty much the same too and have the same nutritional values – it just adds a bit of variety to our meals.
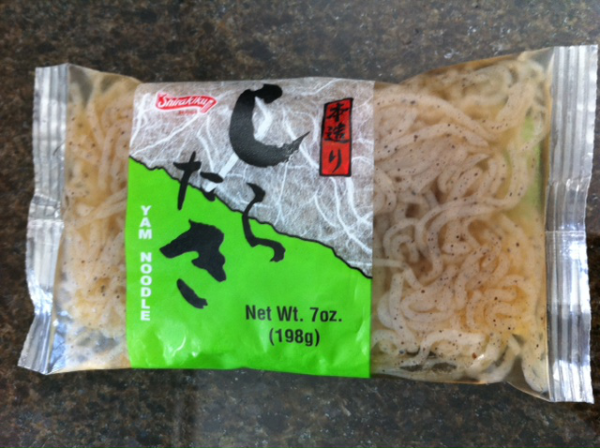
Brown Yam Noodles
More recipes on how to make delicious low-carb meals with these noodles will follow.
Crave Mashed Potatoes? Try Cauliflower Mash
Need some mash to go with those bangers? I found this great recipe for mashed cauliflower on foodnetwork.com and then modified it a touch to make it more buttery.
Ingredients (makes 4 medium portions)
- 1 medium cauliflower
- 1 tablespoon cream cheese (softened)
- 1/4 teaspoon grated Parmesan
- 1/2 of a small clove of garlic (or 1/2 teaspoon minced garlic) (I made the mistake of putting too much garlic on my first attempt by putting in one large clove of garlic, and it was seriously garlicky!)
- 1/2 teaspoon salt
- pinch of black pepper
- 3 tablespoon unsalted butter (softened)
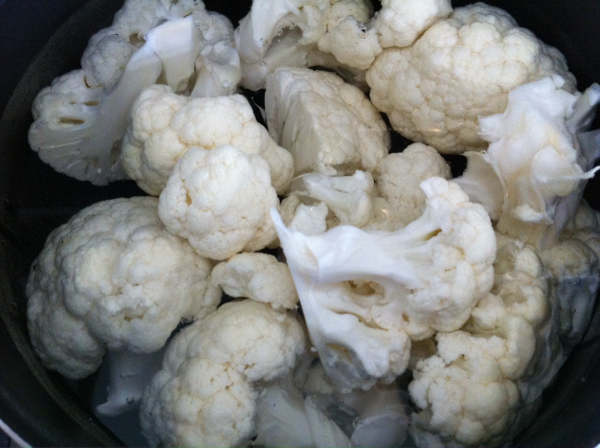
Cauliflower Florets in Boiling Water
- Boil a pot of water.
- Break up the cauliflower into florets and place into the boiling water (see photo above).
- Boil for 8 minutes on high heat (make sure the florets are pretty soft and easy to cut with a fork).
- Drain the cauliflower but do not cool. Instead, dry the florets with some paper towels and place into the food processor.
- Add the cream cheese, grated parmesan cheese, garlic, salt, pepper, and butter into the food processor and blend until it’s pretty smooth (see photo below). This may take a minute or two.
- Ready to serve. You can sprinkle some chives on top to make it look prettier – I mixed it into the mash (see the photo below).
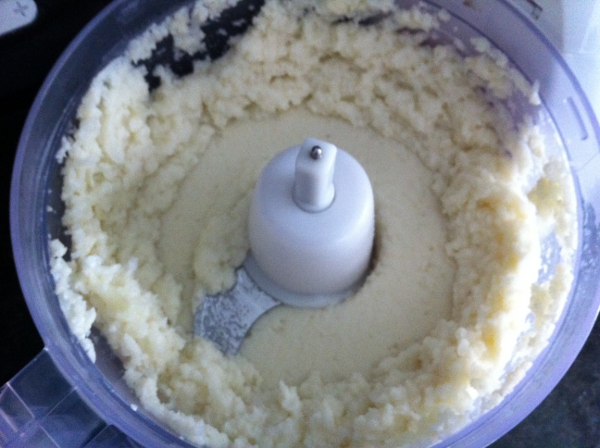
Cauliflower Mash in Food Processor
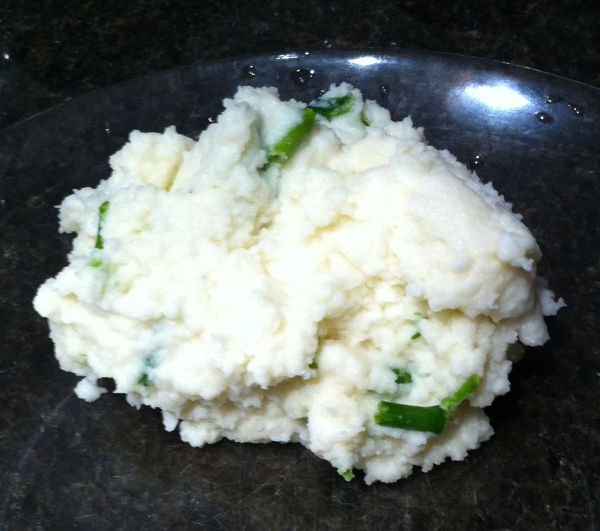
Cauliflower Mash
Faux Fried Rice
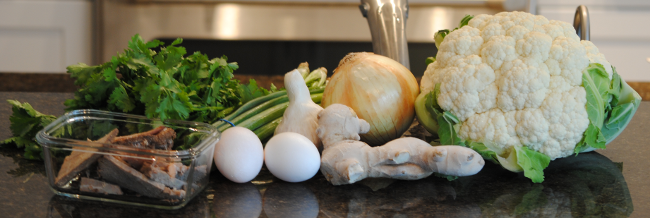 Ingredients for Chinese Faux Fried Rice (One of the Many Faux Rice Variations)
I was very skeptical when I first read about faux fried rice on nomnompaleo, which is a really interesting paleo blog, but it actually tastes amazing and very close to rice. The basis of the recipe is cauliflower chopped up in a food processor to simulate a fake rice look and texture. Personally, I think a more accurate description would be faux cous cous because the cauliflower bits you’re left with are very small. You can add pretty much anything (or nothing) to the chopped cauliflower for your dish (so it can be as simple or as complicated as you want). Below are some recipes I’ve come up with (modifying the basic idea that I got from Nomnompaleo). The first recipe is just a basic faux white rice, and the second is a Chinese fried rice (there’s a Thai version too). Countless other variations are possible!
Basic Faux White Rice (serves 2 adults)
- Half a large cauliflower
- Half a yellow onion
- 2 eggs
- 4 cloves of garlic
- 2 tablespoons of coconut oil (or some other oil or butter)
- Salt to taste
- Chop the cauliflower and onion into small chunks so that it’ll fit into the food processor. Place the chopped cauliflower and onion and the garlic into the food processor with the S-shaped (sabatier) blade and chop until everything is in tiny bits.
- Pour 2 tablespoons of the oil into a pan (any pan will do as long as it’ll fit all the ingredients in).
- Heat the pan on a medium heat.
- After 1 minute, add in all the food processed ingredients. Squeeze out excess liquid (mostly from the onions) if the food processed ingredients seem too soggy.
- Leave the pan with the ingredients in it for 2 minutes. Then crack the two eggs and add them into the pan. Stir the eggs immediately in with the other ingredients so that it doesn’t form large lumps.
- Continue cooking on a medium heat for another 10 minutes stirring every few minutes.
- Add salt to taste.
- Ready to serve. You can have the rice by itself, with some soy sauce, with stir-fried vegetables or meat, or basically with anything you want to have rice with.
Chinese Faux Fried Rice (for Thai Fried Rice, switch the green onions and cilantro for basil)
- Half a large cauliflower
- Half a yellow onion
- 4 green onions (or spring onions or scallions)
- A cup of cilantro leaves (a large handful if you scrunch it up) – try to cut off most of the stalks
- 2 eggs
- 4 cloves of garlic
- Half an inch cube of ginger
- Roast beef chopped into small pieces (I use the slow cooker roast beef because it’s already very flavorful)
- 2 tablespoons of coconut oil (or some other oil or butter)
- Salt and soy sauce to taste
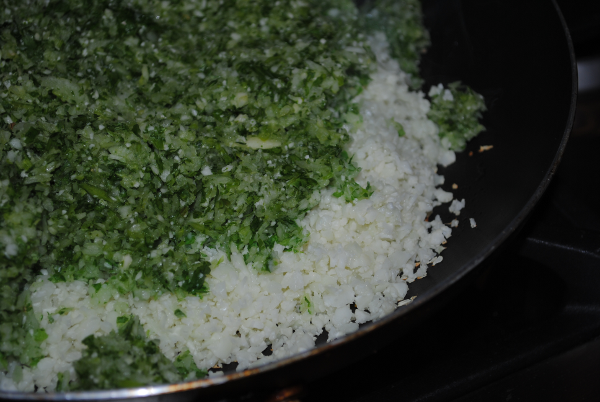 Raw Ingredients in Frying Pan
- Chop the cauliflower, onion, and green onion into small pieces so that it’ll fit into the food processor. Place the chopped cauliflower, onion, and green onions and the garlic and ginger into the food processor with the S-shaped (sabatier) blade chop.
- Pour 2 tablespoons of the oil into a pan (any pan will do as long as it’ll fit all the ingredients in).
- Heat the pan on a medium heat.
- After 1 minute, add in all the food processed ingredients. Squeeze out excess liquid (from the onions and cilantro) if the food processed ingredients seem too soggy.
- Leave the pan with the ingredients in it for 2 minutes. Then crack the two eggs and add them into the pan. Stir the eggs immediately in with the other ingredients so that it doesn’t form large lumps.
- Continue cooking on a medium heat for another 10 minutes stirring every few minutes.
- Add the chopped up roast beef and stir.
- Add salt and soy sauce to taste.
- Ready to serve.
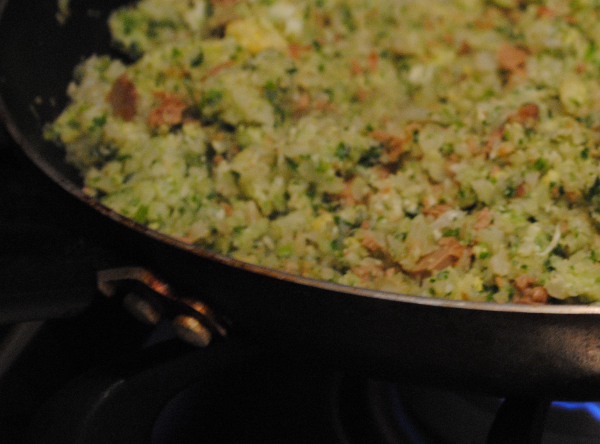 Ready to Serve Chinese Faux Fried Rice
Veggie in the Belly
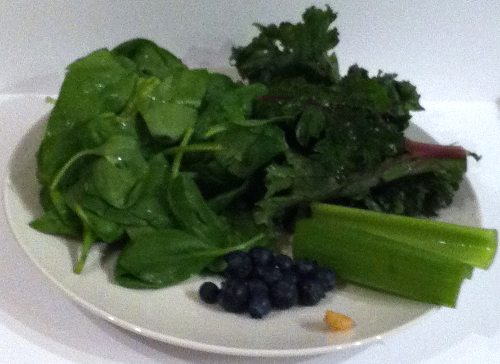
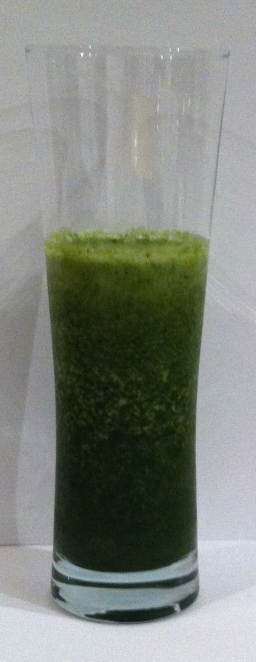
Although I don’t have a strong aversion to vegetables, I’m also not one of those people who can just magically chomp down vegetables like a rabbit. My way of getting all those healthy raw vegetables is to make it into a shake! It’s so simple. I stick everything you see on that plate, a few ice-cubes, and a touch of water or iced tea all into the blender and hit blend. Voila! 10 seconds later, I have a perfectly green and delicious shake. The exact recipe follows after the picture.
Ingredients:
- 10-15 blueberries
- 2 red kale leaves (without the thick stalk at the end)
- 2 handfuls (approx. 2-3oz) of spinach leaves
- 2 3inch celery sticks
- Tiny knob of ginger (approx. 1/4inch by 1/4inch)
- 3oz of water or blueberry iced tea
- Handful of ice-cubes
Place all the ingredients into the blender and blend well. You might have to gently shake the blender a bit for the veggies to shift down and become blended. Alternatively, stop the blender and push the remaining veggies down with a spoon. You can also add in a scoop of protein powder for an extra nutritious shake.
I know the shake doesn’t look all that appetizing because it’s green, but honestly, what did you expect? I did add in a bunch of green vegetables!
