Moved to AncestralChef.com
I have moved to blogging at AncestralChef.com.
Please follow me there for more delicious recipes!! If you haven’t seen my new FREE iPad e-book, then check it out on your iPad here. You can also reach me on Twitter, Facebook, Pinterest, or Google+.
I am also featured in the first issue of Paleo Living Magazine for iPad (full of videos, interactivity, and gorgeous pictures!), and you can download the first issue for FREE here.
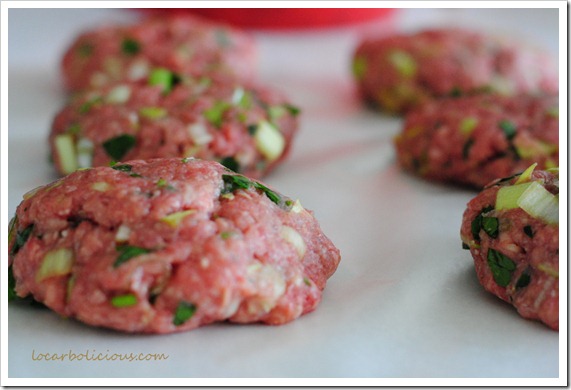
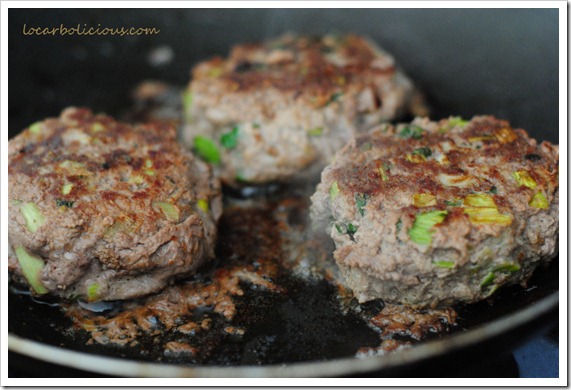
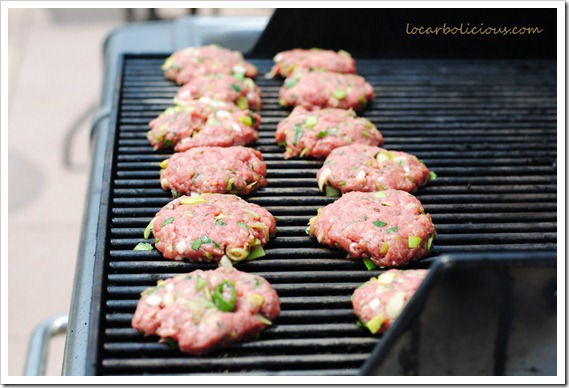
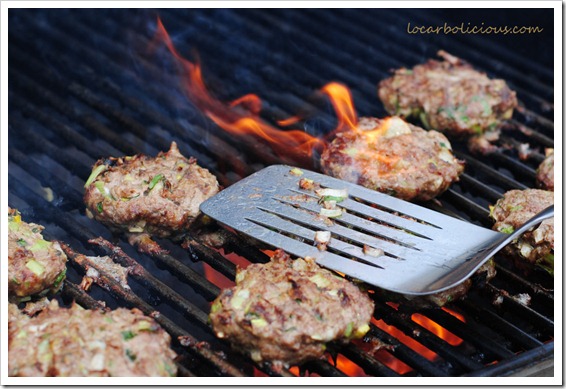
Vegged Up Burgers
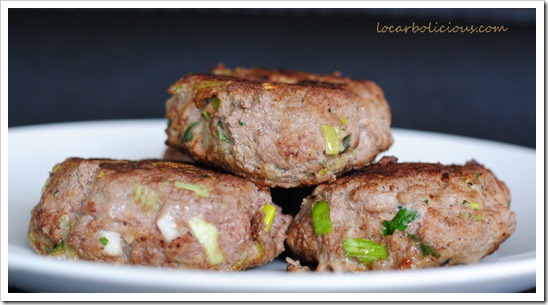
I love adding some vegetables to my burgers – it makes me eat more vegetables and adds great taste to the burgers! These are so simple to make as well regardless of whether you even have a grill. I often just pan fry them. They also store well in the fridge so I often cook a bunch of them and store them in the fridge. You can add in all sorts of vegetables into the patties – this time I added some leeks and parsley. I also added some salt and pepper and eggs to make the meat stick to the veggies well.
Ingredients: For 3lbs of meat, I used 2 leeks, a handful of parsley, and 3 eggs.
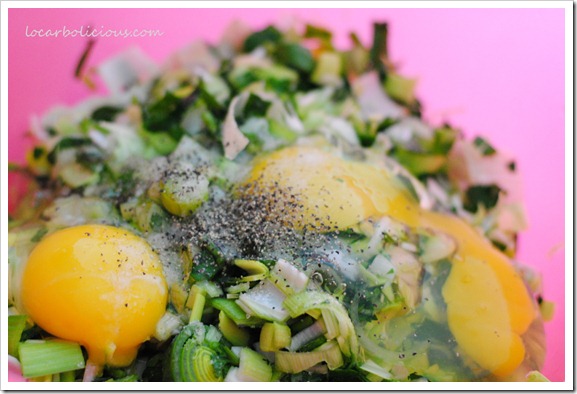
Directions: Mix everything together well and form the meat patties. Then simply grill or pan fry in some coconut oil. It’s that simple!
Caffeinated Eggs
Who has time to make coffee and cook eggs! Now, you can pre-make caffeinated eggs to make your breakfasts healthy as well as fast! This recipe is simple to make, delicious to eat, and handy to take with you on the go. 
It’s actually a traditional Asian recipe and the recipe itself can vary depending on who you ask. The crucial ingredients are: (1) the eggs (of course!), (2) soy sauce (or coconut aminos), and (3) tea. The spices also add quite a bit of flavor, but if you have those 3 crucial ingredients, then this will be a breeze!
Ingredients:
Note: you can cook more eggs or fewer eggs in one go – the ingredients for the broth is the same. You can scale the broth up or down as long as the broth will cover all parts of all the eggs. My slow cooker is pretty big so I need a fair amount of broth to cover the eggs.
- 12 eggs
- 1.5 cups of soy sauce (or coconut aminos)
- 3 tablespoons of sea salt
- 4 cups of water
- 2 tablespoon of tea (I used loose green tea leaves as it was handy, but you can also use black tea). I think loose tea works best, but if teabags is all you have, then I would use around 6 bags (if it’s an American brand like Lipton) or 3 bags (if it’s actually from the UK).
- 6 star anise (optional, but highly recommended)
- 2 teaspoons of cinnamon or 1 cinnamon stick (optional)
- 1/2 teaspoon of ground cloves or 4 cloves (optional)
- 1/4 teaspoon of ground peppercorn (or better still, 1 teaspoon of whole szechuan peppercorns) (optional)
Directions:
- Place the eggs in a pot of cold water (choose a pot with a lid) and bring to the boil. Time 2 minutes starting when the water starts to boil. Then turn off the heat and put the lid on. Sit it there for around 10 minutes so that the eggs are hard boiled.
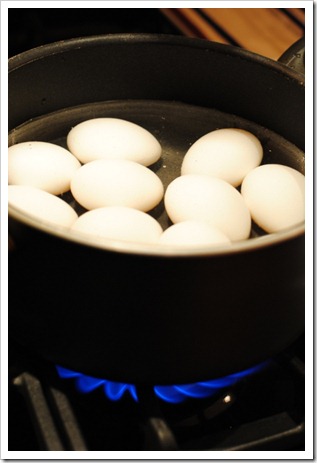
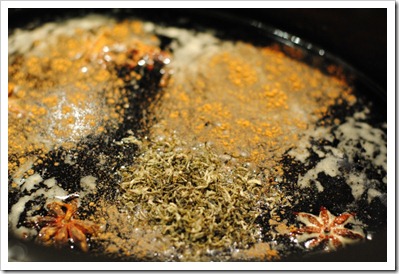
- While the eggs are cooking, prepare the the broth in a crockpot (slow cooker) or another pot with the other ingredients. Pour the soy sauce, water, salt, tea and optional ingredients into the pot and mix.
- When the eggs are done, sit the pot into the sink and run cold water into the pot for around 5 minutes – make sure the pot doesn’t block up the sink! This will cool the eggs.
- Once the eggs are cool, take a spoon and use the back of the spoon to break the shell. Make sure large parts of the shell doesn’t fall off, but it’s ok if a few small bits of shell come off. Break the shell all over. Do this for each egg. This will result in the eggs having that great marbling look.
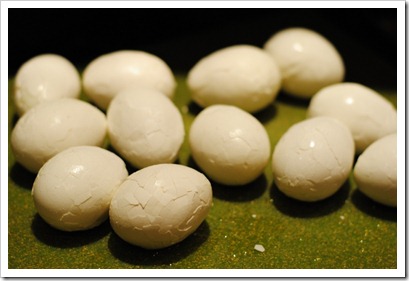
- Place the eggs (with the broken shell) into the pot with the broth. If you’re using the crockpot (slow cooker), then cook on a high heat for 4 hours. If you’re using a regular pot, then put the lid on and cook on the lowest heat on the stove for 2 hour (but check regularly to make sure the water isn’t boiling completely away – add more water if needed). You can shorten the cooking time, if you need to, but the eggs won’t be as flavorful.
- If you find the eggs are still not as flavorful as you’d like, then cool the entire pot down (don’t throw away the broth) and store the eggs overnight in the broth (in the refrigerator). This will help the broth seep into the eggs even more!
Marinated Grilled Flank Steak
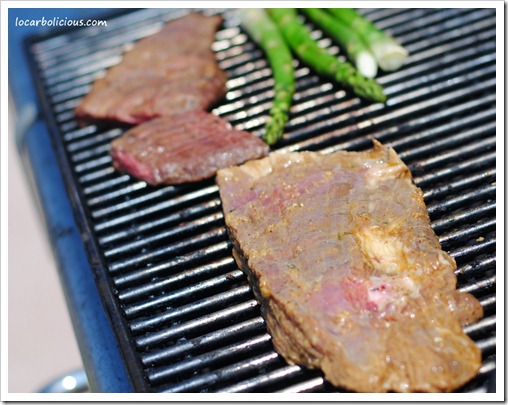
This is such a simple and delicious recipe and perfect for showing off your grilling skills without possessing any of those skills! It’s all in the marinade, and luckily, making the marinade just means dumping all the ingredients into a large bowl and stirring it. It’s also great because flank steak is such a cheap steak, so you can grill this all the time!
I made the marinade the night before and placed the flank steaks in the marinade overnight. There was so much flavor! I even reheated some left over steak in the microwave the next day, and it was still super tender and flavorful. So, here’s how to make it…
Marinade Recipe for Flank Steak
For 3 lbs of flank steak (usually two large pieces of flank steak that feeds at least 4 people):
- 1 cup coconut oil (or substitute with other oils)
- 2/3 cup soy sauce (or liquid aminos for a great gluten-free alternative)
- 1/2 cup red wine vinegar
- juice from 1 lemon
- 2 tablespoons of mustard
- 6 cloves of garlic, crushed
- 1 tablespoon of grated fresh ginger (I used a cheese grater)
- 1 tablespoon of paprika
- 1 tablespoon of dried chopped onion
- 1 tablespoon of salt
- 1 tablespoon of garlic powder
- 2 teaspoons of thyme
- 1 teaspoon of chili powder (it’s not spicy so feel free to add more chili powder if you like it really spicy)
How to Marinade Flank Steak
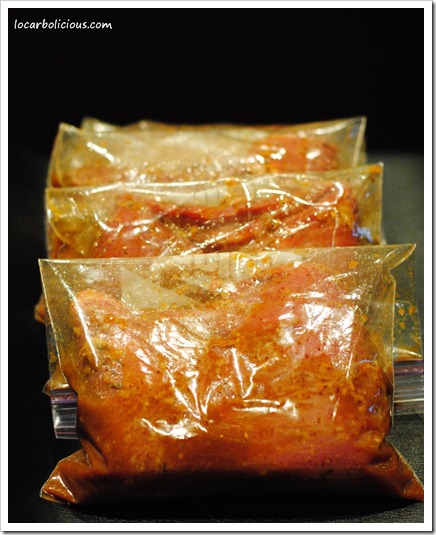
I sliced the 2 large flank steaks into halves so that it would be more manageable for marinating and cooking. I placed each of the 4 pieces of steak into a ziplock (sandwich) bag and poured some marinade into the bag. I carefully sealed the 4 ziplock bags and placed them into another plastic bag before putting them into the fridge overnight (I really didn’t want anything to leak into my fridge).
How to Grill Flank Steak
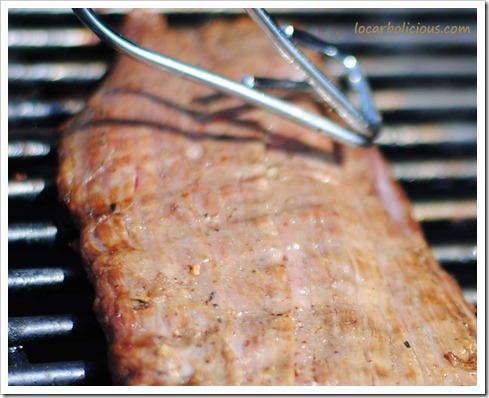
This part will vary a bit depending on the type of grill you’re using, how thick your piece of steak is, and how rare or cooked you like your steak. My apartment building has a nice gas grill on the roof, so I try to keep the grill temperature around 300-350F with the lid down. I like my steaks medium so I generally use tongs to see how soft the meat is getting. When the meat starts to feel less like the softness of raw meat and more firm, then it’s pretty much ready for me. This usually takes around 15 minutes. If you like your steaks rare, then cook it for less time, and if you like it well done, then keep it on the grill with the temperature under 350F for longer.
Cutting and Serving Flank Steak
Remember to cut against the grain (i.e. not parallel to the strings of meat fiber) if you’re slicing it up.
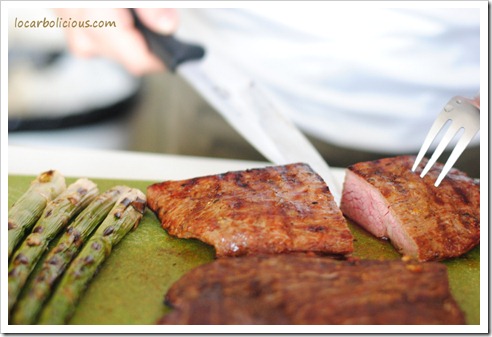
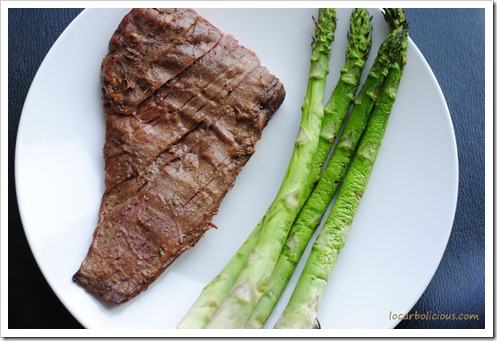
Or you can serve the steak whole with some grilled vegetables. The next photo shows approximately a 0.4 lb flank steak with some grilled asparagus. So, the marinade makes 8 pieces of steak that size.
Grilling Away
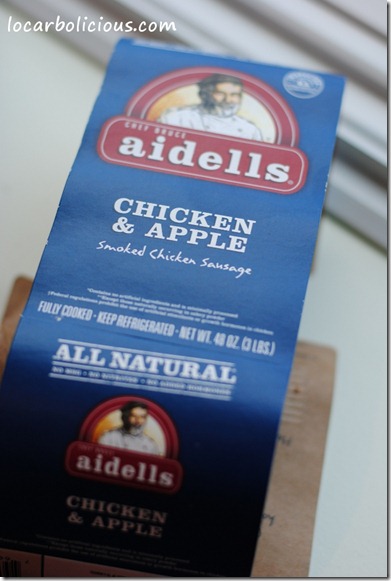
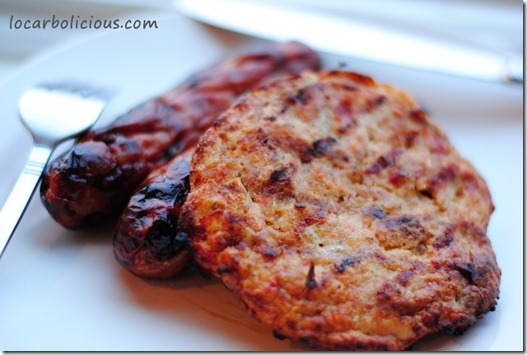
 It’s almost summer again – despite the grey skies in New York today. Consequently, it’s time to fire up the grill. I’ve been out of town a lot over the past two weeks, so my fridge was sadly empty. Luckily for me, however, my freezer is still well stocked. I pulled out a packet of Aidells Chicken & Apple sausages and two Amylu chicken burgers and fired up the grill.
I bought both of these from Costco, and the 5 sausages and 2 burgers were plenty for both the bf and me. In total, each meal (2.5 sausages and 1 burger) was 600 calories, 40g fat, 9g carbs, and 54g protein.
This is definitely a super easy dinner, and I even get to enjoy a few last rays of sunlight breaking through the muddy skies after spending a whole day inside! Perhaps summer is arriving at long last?
Low Carb Cruise Photos
Just returned from having a great time on the low carb cruise. Highlights included finally meeting Jimmy Moore, who is simply one of the nicest, friendliest guys I have ever had the pleasure of meeting! (He’s also a talented karaoke singer as well as a whiz at the poker table!) I also heard from an impressive panel of speakers and made friends with a fantastic group of people (low carb, paleo, and generally health conscious people). Plus, there was lots of sun and fun.
It was great not having to cook for a whole week but still being able to eat healthily. So, here are some of the foods I got to try on the ship and off the ship…
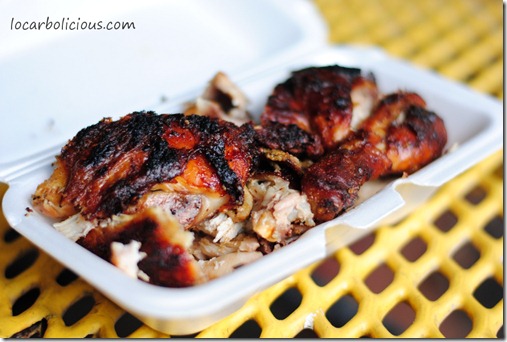
1. Jamaican Jerk Chicken
And here’s the finished product…
I had this at the Pork Pit in Montego Bay, Jamaica.
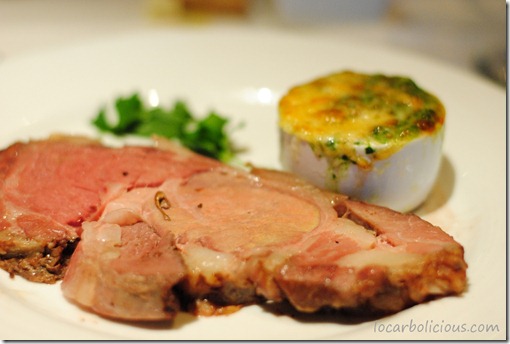
2. Tender Roasted Prime Rib of Beef
This was from the dinner menu on the ship.
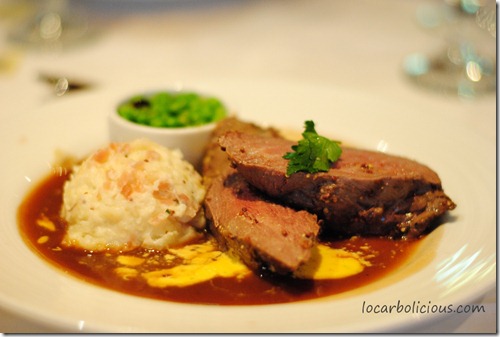
3. Chateaubriand
Again from the dinner menu on the ship. Chateaubriand is a thick cut of beef from the tenderloin. According to Wikipedia, it was created by a French chef named Chateaubriand, who worked with Napoleon and Louis XVIII.
4. Mexican Fish Tacos (Minus the Tortilla)
Luckily the fish was so tender and flavorful, I wasn’t even tempted to each the tortilla. This was at a quiet little restaurant in Cozumel, Mexico, called La Candela.
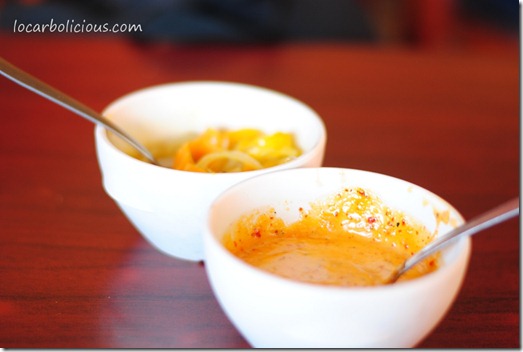
5. Spicy Mexican Salsa
This was also from La Candela in Cozumel, Mexico. The salsa was made from various peppers, garlic, and other spices. It was delicious.
6. 100% Dark Chocolate
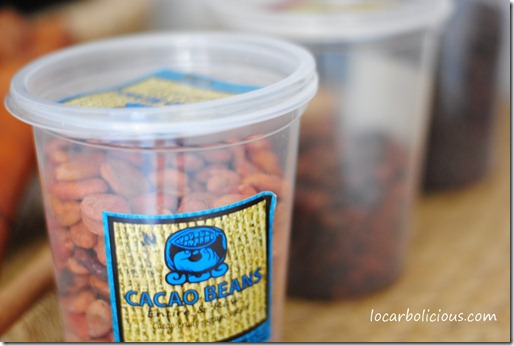
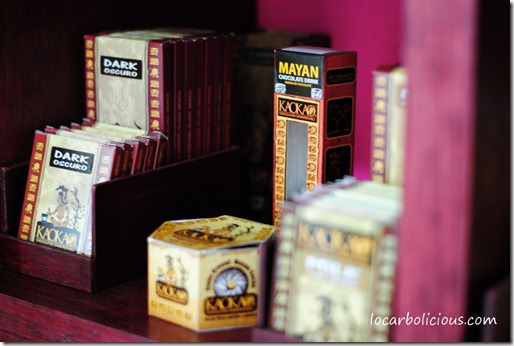
We toured a small, family-run chocolate factory and learned about the entire chocolate-making process. Then we got to make some chocolate as well. Unlike most chocolates you buy in stores, the cacao beans used to make their chocolate were fermented. This gave them a great non-bitter flavor and made them taste good even with zero sugar! Unfortunately, they didn’t sell 100% chocolates, but when we told the owner we really wanted 100% chocolate with no-added sugar, he made 2 bars especially for us while we waited! Sadly, they don’t ship to the US yet.
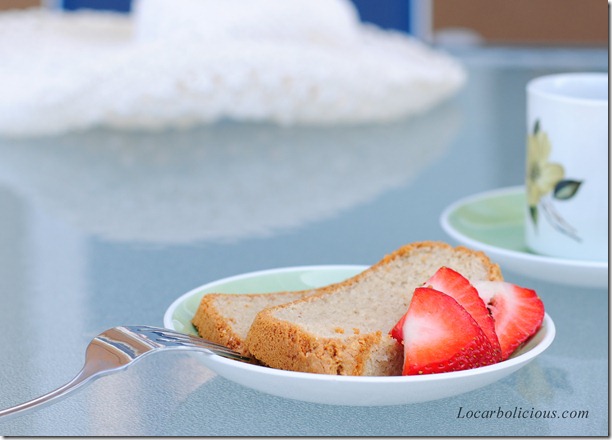
Vanilla Pound Cake: Grain Free and Sugar Free
I absolutely love all of Carolyn’s creations on All Day I Dream About Food. She has some amazingly delicious recipes and some even more amazing photos of her creations! If you’re hungry for desserts, then you should definitely check out her site – it will make your mouth water.
When I told Carolyn that I was grain-free (gluten-free) and low-carb, she suggested trying her almond crusted butter cake. Her recipe uses almond extract and is sweetened using erythritol, a sugar alcohol, and stevia. You can find that recipe here. I modified her recipe so that it wouldn’t contain any sugar alcohols (I also made it vanilla flavored). Instead, I’ve sweetened it with liquid sucralose (which contains fewer carbs than Splenda but is essentially the liquid version of Splenda).
This was a huge hit at a recent dinner party with a bunch of non-low-carbers! The little bit of protein powder in the recipe makes the texture soft and smooth – just like regular cake! Enjoy with a good cup of tea in the afternoon.
| Vanilla Pound Cake Recipe |
- 3 cups almond meal/flour (I’ve made the recipe using Bob’s Red Mill Almond Meal/Flour, which you can buy here (the recipe uses up pretty much a 16oz bag) and using my home-made almond flour, which is made by food processing raw almonds to create a coarse almond flour)
- 1/3 cup vanilla flavored whey protein powder (I love this vanilla ice-cream flavored one)
- 1.5 teaspoons baking powder (see this post if you want to eliminate the carbs in baking powder)
- 1 teaspoon baking soda
- pinch of salt
- 1/2 cup of butter, softened (I use the microwave for this)
- 3 large eggs
- 1 tablespoon vanilla extract (sugar-free)
- 3/4 cup sugar equivalent of liquid sucralose or other sweetener (I buy it from splendex.net)
- 1/2 cup almond milk
- Preheat oven to 300F.
- Butter a loaf pan (9in by 5in).
- Mix all the dry ingredients together.
- In a large mixing bowl, beat the butter and add in the eggs, one at a time. Add the sucralose and vanilla. Then add in the dry ingredients mix, followed by the almond milk. Beat well.
- Pour the cake batter into the loaf pan and bake for 60 minutes (the cake will rise in the oven and the top should turn golden brown). Let the cake cool for a few minutes before flipping it out. Cut into slices when it’s completely cooled.
Infographic: Low Carb Guru Guide
The low-carb universe is much more diverse than many dieters realize. Everyone wants to lose fat and be more healthy overall, but the specific recommendations can vary a lot from one low-carb guru to another.
Here is an infographic that I put together featuring some of my favorite “Low-Carb Superheroes.” (I obviously couldn’t include everyone). This is my first foray into the land of infographics, so let me know what you think in the comments below! Oh, and if you click on the infographic, a larger version will come up.
Rosemary Thyme Roasted Vegetables Recipe
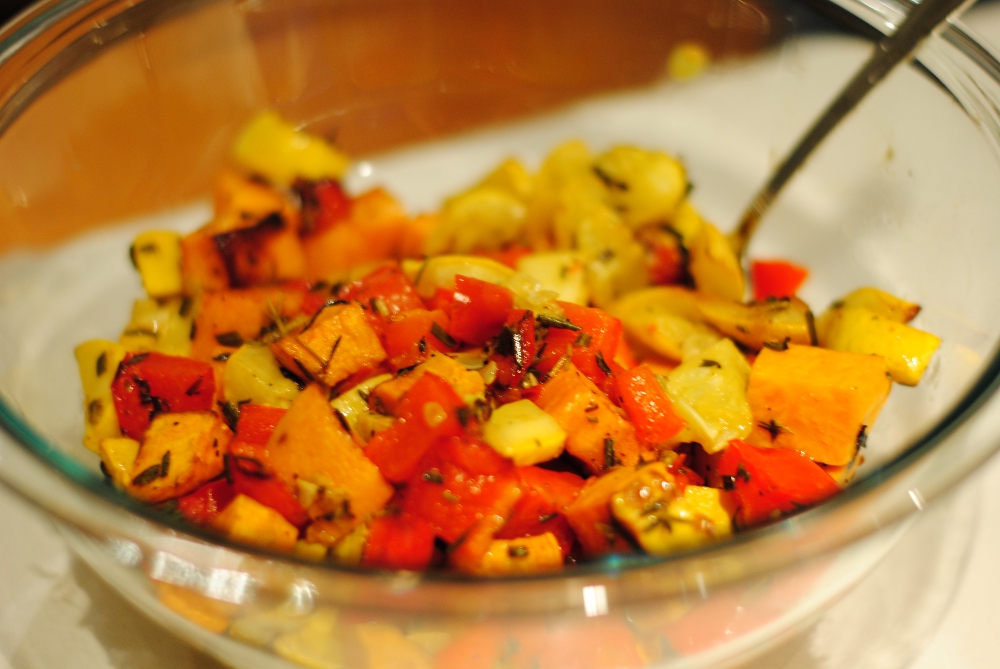
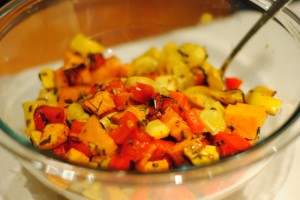
This is very healthy vegetable dish that tastes delicious and is easy to make. I modified it from a allrecipes.com recipe. You can change the sweet potato to an eggplant or some mushrooms if you want to lower the carbs.
| Rosemary Thyme Roasted Vegetables Recipe |
- 2 yellow squash, cubed
- 2 red bell peppers, seeded and cubed
- 1 sweet potato, peeled and cubed
- 1 tablespoon fresh thyme, chopped
- 2 tablespoons fresh rosemary, chopped
- 1/4 cup olive oil
- 2 tablespoons red wine vinegar
- salt and pepper to taste
- Preheat oven to 475F.
- Mix together in a small bowl the thyme, rosemary, olive oil, red wine vinegar, and salt and pepper.
- In a large bowl, mix together all the vegetables with the mixture, so that all the vegetable pieces are well coated with the mixture.
- Place in casserole dish and bake for 35-40 minutes or until the vegetables start turning brown. Stir every 10 minutes to prevent the vegetables from sticking to the casserole dish.
Exercising – Hard Core Push Ups
Why I became interested in “Military-Style”
Push-Ups:
I grew up playing badminton, first at home with my parents and then more often and competitively in both high school and college. I only ever received coaching and training at an older age, which meant that I wasn’t particularly good at badminton and also that my form wasn’t very good. Over time, my bad form led to me developing shoulder injuries, mainly tendinitis in the rotator cuff of my right shoulder.
I gave up playing a few years ago, but the pain and discomfort still linger in many activities. I’ve tried Active Release Therapy with my local chiropractor (after reading about it in Tim Ferriss’ book, “4 Hour Body”), and the therapy (along with a cortisone shot) has definitely helped calm down the injury. After a year of pretty much doing nothing with my shoulder, the pain has subsided, and I have almost normal range of motion. However, the pain still comes back if I do certain exercises.
In particular, push ups give me problems – and no wonder since normal push ups often injure rotator cuffs in people without prior shoulder injuries!
As an alternative, my chiropractor suggested that I try “military-style” push-ups, which I want to share with you so that more people don’t injure their shoulders while doing pushups. (In fact, my cross-fit instructor also suggested that everyone do these instead of normal push-ups.) These push-ups also have an added benefit – they’re harder than normal push-ups, mostly because they rely on your arm muscles more than your chest! In effect, you get less injury with more of a work out….
How to do Military Style Push Ups: I was going to write a very detailed explanation, but I found the video above (on YouTube), and it explains the movement about as well as I could hope to.
The key is to keep your elbows tucked in close to your side (rather than out at right angles to your body). Your hands are generally directly under your shoulders.
The first time I tried these push ups, I nearly collapsed from doing just 5, because I was so unused to working out that part of my arms, so don’t be afraid to start with your knees on the floor or even doing the push ups against a wall. Just remember to tuck your elbows into your side, and your rotator cuffs will thank you!
