Moved to AncestralChef.com
I have moved to blogging at AncestralChef.com.
Please follow me there for more delicious recipes!! If you haven’t seen my new FREE iPad e-book, then check it out on your iPad here. You can also reach me on Twitter, Facebook, Pinterest, or Google+.
I am also featured in the first issue of Paleo Living Magazine for iPad (full of videos, interactivity, and gorgeous pictures!), and you can download the first issue for FREE here.
Caffeinated Eggs
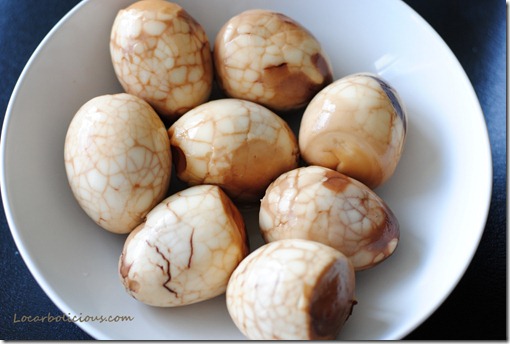
Who has time to make coffee and cook eggs! Now, you can pre-make caffeinated eggs to make your breakfasts healthy as well as fast! This recipe is simple to make, delicious to eat, and handy to take with you on the go. 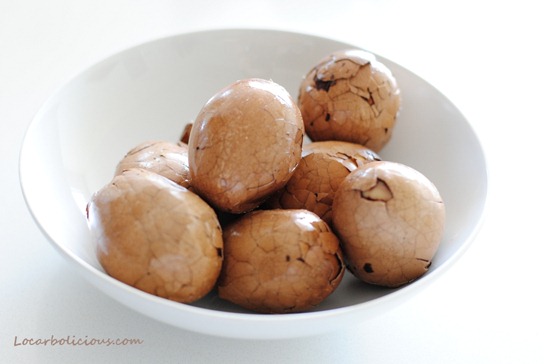
It’s actually a traditional Asian recipe and the recipe itself can vary depending on who you ask. The crucial ingredients are: (1) the eggs (of course!), (2) soy sauce (or coconut aminos), and (3) tea. The spices also add quite a bit of flavor, but if you have those 3 crucial ingredients, then this will be a breeze!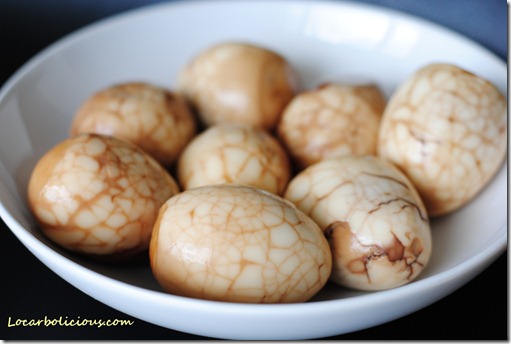
Ingredients:
Note: you can cook more eggs or fewer eggs in one go – the ingredients for the broth is the same. You can scale the broth up or down as long as the broth will cover all parts of all the eggs. My slow cooker is pretty big so I need a fair amount of broth to cover the eggs.
- 12 eggs
- 1.5 cups of soy sauce (or coconut aminos)
- 3 tablespoons of sea salt
- 4 cups of water
- 2 tablespoon of tea (I used loose green tea leaves as it was handy, but you can also use black tea). I think loose tea works best, but if teabags is all you have, then I would use around 6 bags (if it’s an American brand like Lipton) or 3 bags (if it’s actually from the UK).
- 6 star anise (optional, but highly recommended)
- 2 teaspoons of cinnamon or 1 cinnamon stick (optional)
- 1/2 teaspoon of ground cloves or 4 cloves (optional)
- 1/4 teaspoon of ground peppercorn (or better still, 1 teaspoon of whole szechuan peppercorns) (optional)
Directions:
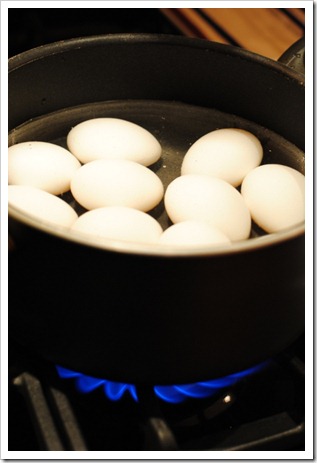
- Place the eggs in a pot of cold water (choose a pot with a lid) and bring to the boil. Time 2 minutes starting when the water starts to boil. Then turn off the heat and put the lid on. Sit it there for around 10 minutes so that the eggs are hard boiled.
- While the eggs are cooking, prepare the the broth in a crockpot (slow cooker) or another pot with the other ingredients. Pour the soy sauce, water, salt, tea and optional ingredients into the pot and mix.
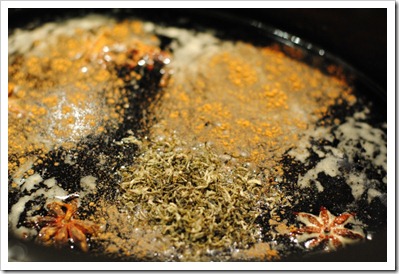
- When the eggs are done, sit the pot into the sink and run cold water into the pot for around 5 minutes – make sure the pot doesn’t block up the sink! This will cool the eggs.
- Once the eggs are cool, take a spoon and use the back of the spoon to break the shell. Make sure large parts of the shell doesn’t fall off, but it’s ok if a few small bits of shell come off. Break the shell all over. Do this for each egg. This will result in the eggs having that great marbling look.
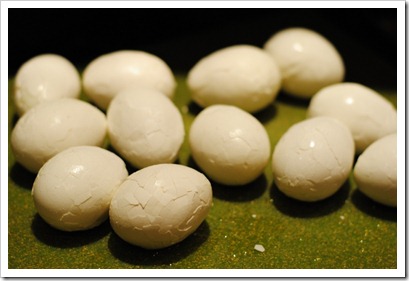
- Place the eggs (with the broken shell) into the pot with the broth. If you’re using the crockpot (slow cooker), then cook on a high heat for 4 hours. If you’re using a regular pot, then put the lid on and cook on the lowest heat on the stove for 2 hour (but check regularly to make sure the water isn’t boiling completely away – add more water if needed). You can shorten the cooking time, if you need to, but the eggs won’t be as flavorful.
- If you find the eggs are still not as flavorful as you’d like, then cool the entire pot down (don’t throw away the broth) and store the eggs overnight in the broth (in the refrigerator). This will help the broth seep into the eggs even more!
Crackers
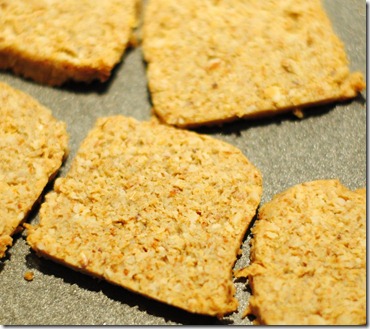 I saw a great recipe on Mark’s Daily Apple yesterday that I just had to try – crackers! You can dip them, spread cheese on them, or eat them by themselves. Of course, as Mark points out in his post, this is not something you should be eating for every meal just because it tastes so good, but it does make a great snack once in a while.
I’ve modified the recipe a little so that it’s not so crumbly, which makes it a bit easier to cut and cook. I substituted part of the almond meal for flax meal. This also adds some extra fiber to the cracker without really changing the taste or the texture. I’ve described the basic recipe below along with one option for seasoning, but you can change the seasoning to any spices that tickle your fancy.
Ingredients:
- 1 1/2 cups of almond flour (or almonds food-processed into small chunks)
- 1/2 cup of flax meal
- 1 egg
- 2 tablespoons of olive oil (I love the Columela Extra Virgin Olive Oil from Spain because it just has amazing flavor with everything!)
- seasoning: (3/4 teaspoon salt, 1/4 teaspoon basil. 1/2 teaspoon thyme, 1/4 teaspoon oregano, 1/2 teaspoon onion flakes, 1/4 teaspoon garlic powder)
Directions:
- Preheat oven to 350F (175C).
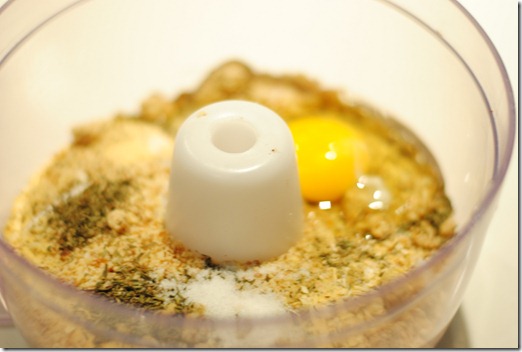
- Place all the ingredients into the food processor and food process well to make a dough.
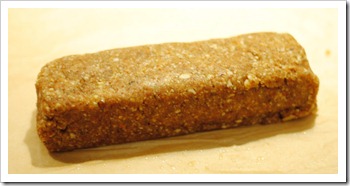
- Shape dough into a log (as shown in the photo below) or roll into a flat sheet using tin foil or parchment paper.
- Place in fridge for 10 minutes to harden the dough.
- If you made it into a log, then cut into thin slices (1/3 of an inch). If you rolled it into and then cut into cracker shapes using a pizza cutter or knife).
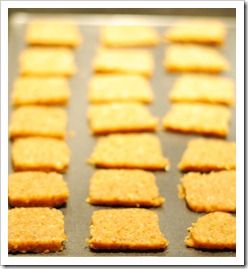
- Place crackers onto baking tray and bake for 10-12 minutes.
- Let cool and store in the fridge over night (this hardens them even more).
Nutritional information (per cracker): 76 calories, 6.7g fat, 2.6g carb (1.7g fiber), 2.7g protein.
Low Carb Cookies – Peanut/Almond Butter Cookies that Don’t Crumble!
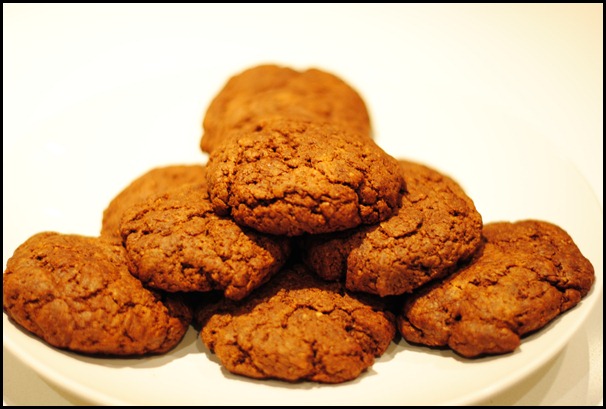
Yes, delicious low carb cookies do exist, and you are looking at a photo of them!!
I tried making low carb cookies several months ago but gave up after finding them to be too crumbly. However, my interest was piqued again this past week when my cafeteria served flourless (gluten free) peanut butter cookies. They were a sell-out! But, making a flourless cookie was only half the battle – I still needed to get rid of the sugar in the cookies. I’ve described my trial and error process below, but you’ll love the ending (I did)….
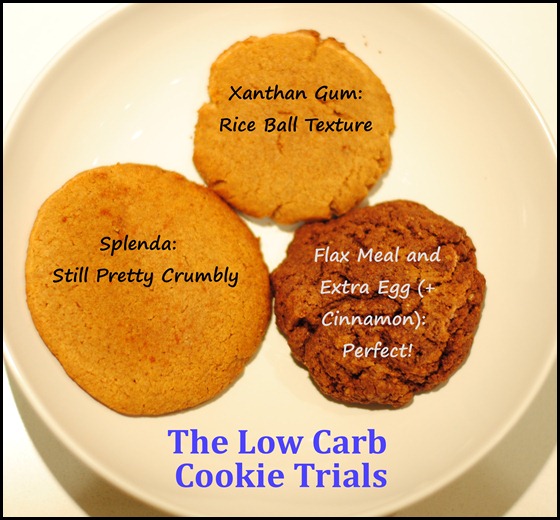
Crumbly Cookie: I looked up a simple flourless peanut butter cookie recipe, which was really simple: mix together 1 egg with 1 cup peanut butter and 1 cup sugar, and then bake for 10 minutes at 375F. I tried the simple substitution of liquid sucralose for sugar. The cookies came out delicious but incredibly crumbly – in fact, I could barely get the cookie to my mouth before it disintegrated into powder. The cookies were vanishing into dust, and I wasn’t even eating them!
Substitute Splenda For Sugar: Next, I tried using Splenda. Although I’m not usually a big fan of Splenda (because of the bulking agents it adds), my cookies were in dire need of some sort of bulking agent! The cookies came out less crumbly, but were still very dry and all-too-eager to break into pieces.
Xanthan Gum? I took some serious action after that by adding in some xanthan gum (which is a thickening agent that’s great in soups like egg drop soup). This made the cookies more coherent, but it also gave it a chewy texture – reminiscent of Japanese mochi or rice balls (both which are generally made from glutinous rice flour).
Eureka: I soon (after quite a few more batches!) realized that perhaps eggs could act as the glue in this recipe. But I couldn’t just add more eggs in – it would make the recipe way too liquidy. I had to add something in with the eggs. That’s when it came to me…flax meal. The xanthan gum went out and the flax meal and extra eggs came into the mixture. The cookies came out more solid, with a texture rather like oatmeal! Success at last.
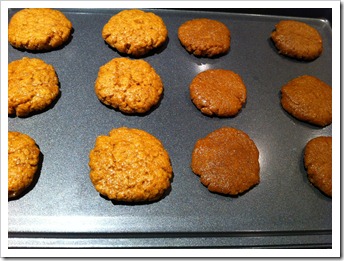 Making the Cookies Rise: Now that I had figured out how to make the cookies not crumble, I turned to the problem of making them rise. I wanted cookies that were lighter and less dense. Baking powder and baking soda are the common ingredients for making baked goods rise. To minimize usage of baking powder (because it contains a little bit of unnecessary carbs), I used cream of tartar instead. I’ll explain in my next post what all that means. Basically, I tried adding just baking soda (the cookies on the right), and then both baking soda and cream of tartar (on the left), and the cookies definitely rose more with both ingredients (even before putting it into the oven)! As you can see, cream of tartar also lightened the color of the cookie. (The photo shows the cookie dough prior to cooking.)
THE RECIPE
Ingredients (12 cookies):
-
1 cup peanut or almond butter (make sure it has no added sugar or salt or anything else!)
-
2 eggs
-
1 cup equivalent of Splenda
-
1/2 cup of flax meal
-
1/2 teaspoon baking soda
-
1 teaspoon cream of tartar
-
Optional: 2 tablespoons vanilla extract, 2 tablespoons of cinnamon, 1 teaspoon of nutmeg, 1/8 teaspoon of ground cloves (if you don’t really like the taste of nuts, then these will hide the nutty flavor well)
Directions:
-
Preheat oven to 375F.
-
Mix the dry ingredients (Splenda, flax meal, baking soda, and cream of tartar together).
-
Add the peanut/almond butter and the 2 eggs.
-
Shape into 1 and 1/2-inch balls and flatten into cookies.
-
Bake in oven for 8 minutes.
-
Leave to cool (they’ll harden a bit more upon cooling).
Note: the dough may look rather oily before you put it into the oven (and I think the cinnamon might draw some of the liquids out of the dough so that it looks like your dough is sitting in a puddle of water), but it comes out non-oily and moist on the inside!
Tuna Fish Salad
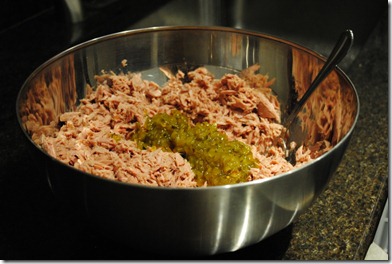
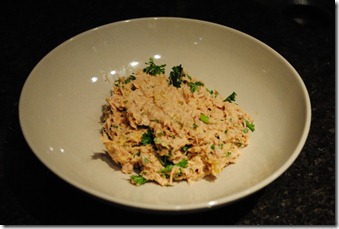 I used to hate tuna fish, and even now I still don’t eat much tuna fish, despite the fact that I generally love seafood. I find tuna fish dry and odd tasting, so the only way I’ll eat tuna fish is in the tuna salad pictured to the left. It’s based on a recipe that I found on allrecipes.com (Barbie’s Tuna Salad), but I’ve modified it slightly to lower the calories and make it taste even better. I use light mayo (Smart Balance, which is low fat and low calorie), less sweet pickle relish and no parmesan cheese (I couldn’t taste it at all!) to cut down on the calories. I also put in less dill and more curry powder than the original recipe calls for (my version is below, of course). All in all, it’s a delicious tuna salad that’s full of protein, is low in carbs, and is relatively low in calories. I make it by the bucket load, so that I have enough to eat for at least a week – Costco sells tuna in 5lb tins, and each tin makes a huge mixing bowl-full that takes me around a week to finish eating.
Here’s my recipe:
Ingredients:
- One 5lb can (or around ten 7-ounce cans or fourteen 5-ounce cans) of tuna in water (I use the chunk light tuna as I find the white tuna to be too dry) – drain the tuna and flake it thoroughly with a fork
- 1 and 1/4 cups of light mayo (I use Smart Balance Plus Omega)
- 10 tablespoons of sweet pickle relish (this does have some sugar in it, but makes the tuna salad taste so much better!!) I’ve tried substituting this for zero-sugar pickle relish or just omitting it altogether, but the recipe just doesn’t work without it.
- 3 tablespoons dried onion flakes (this gives the tuna fish a bit of a crunchy texture)
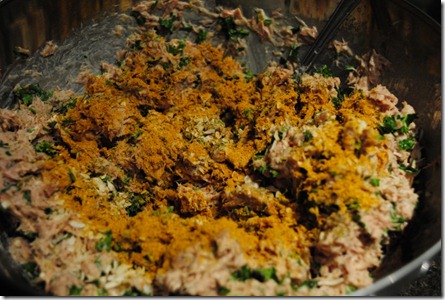
- 2 and 1/2 tablespoons of curry powder (this is absolutely key in this recipe, but don’t worry – it doesn’t make it taste like curry…it just gives it that hint of curry flavor, which adds so much more dimension and deliciousness to this tuna salad)
- 1 cup of freshly chopped parsley (you can chop it by hand or in the food processor for a more thorough chop) – the original recipe calls for dried parsley, which you can’t really taste, and so I prefer to use fresh parsley
- (Optional) 3 tablespoons of dried dill weed (I don’t really like the taste of dill, and luckily you can’t really taste it the tuna salad, but if you prefer more of a dill taste, you can decrease the amount of parsley and increase the amount of dill or use fresh dill and dried parsley)
- (Optional) 2 tablespoons of granulated garlic (or garlic powder) – it adds just a bit of subtle flavor
Directions:
This is the simple part – just put everything in a large bowl and mix well (make sure all the tuna is well flaked so that the flavors can mix in with it).
This takes around 20 minutes to prepare. I would say it makes around ten 8-oz servings, and each serving contains around 250 calories.
You can obviously scale the recipe down if you don’t want to make so much tuna in one go, but just be careful to do the calculations correctly.
Dried Fruit and Vegetable Snacks – Dehydrator Frenzy
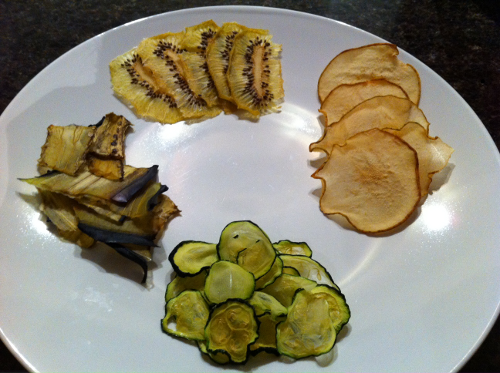
Dried in the dehydrator: (from top clockwise) kiwi, Bartlett pear, zucchini (courgette), eggplant (aubergine)
Dehydrator?? I recently bought a dehydrator, which just dries out various foods like fruits, vegetables, and even meats (think beef jerky). It’s a simple device – it basically blows hot air at your foods until they become dry. It’s reasonably cheap for a food device -mine cost $60 on Amazon. I got the Nesco FD-75PR 700-Watt Food Dehydrator, which comes with 5 trays to place food on and has a variety of temperatures for drying different foods. See the pictures below.
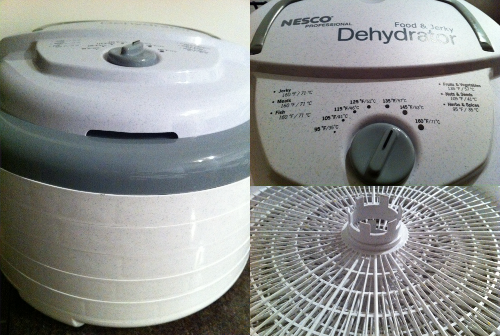
3 Pictures of the Nesco FD-75PR 700-Watt Food Dehydrator
How to Dehydrate Foods? It’s so easy to dehydrate foods. For the veggies, I like to slice them into thin slices (around 1 millimeter thick) so that it doesn’t take too long for them to dry. I also like to salt them, which makes them taste better and helps to dry them faster (you can also try adding spices to them) – so boil some water and add a bunch of salt and dump the sliced veggies into the water for 1 minute. Fish them out quickly before they get too soggy. Then place the slices on the dehydrator. I dehydrated the zucchini and eggplant slices for around 9 hours – it’s a bit of a trial and error game because it was difficult to get the slices the same thickness, and the drying time really depends on how thick the slices are. For pears and kiwis, I cut them into thin, 1-2 millimeter slices. They took a little longer to dehydrate though (probably because they were thicker and didn’t have any salt on them). I put them in for 11 hours, and they came out pretty crispy but still a tad chewy and leathery (so it’s not going to break at the touch).
Why dehydrate fruits and vegetables when they taste perfectly good fresh? There are a variety of reasons for this! First, it allows the foods to stay fresh for much longer, so you can buy of box of apples (which is often cheaper than buying them a few a time – think Costco!) and eat those apples several months later. Then, there’s the variety – the dried fruits and veggies are a great snack that you can take with you anywhere in a small ziploc bag. Also, dehydrated fruits and veggies are “not cooked” so they count as raw food if you’re on the raw food diet. It’s super healthy and tasty. I’ve noticed these kale chips in Wholefoods recently. They cost a fortune (they’re not trying to rip you off – it really just cost a lot to produce them!), but you can make your own by buying some kale, salting it, and dehydrating it!
I started making some dried watermelon slices…
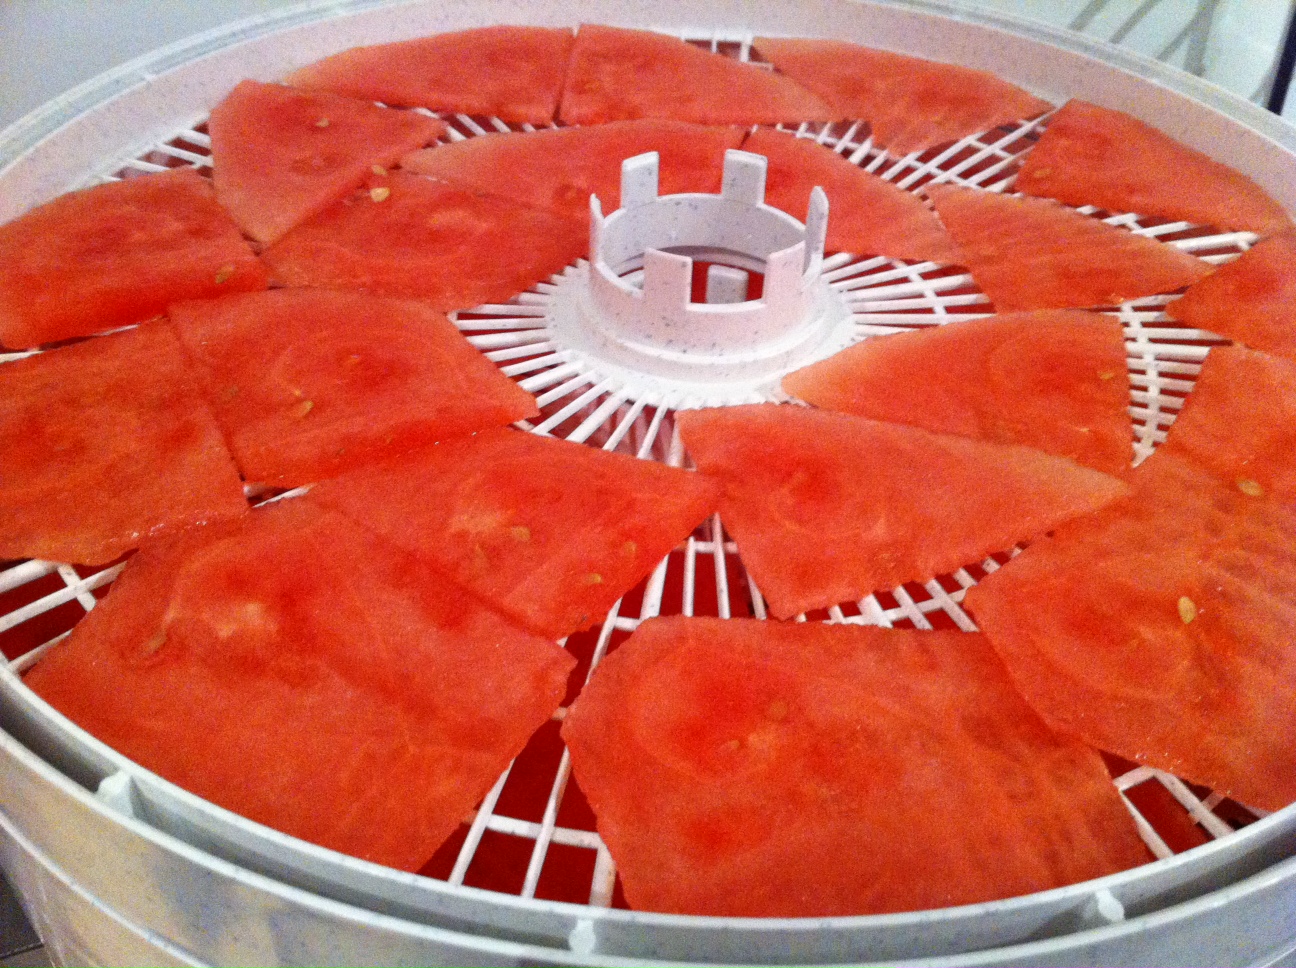
Watermelon sliced thin in the dehydrator (before dehydrating).
Crave Mashed Potatoes? Try Cauliflower Mash
Need some mash to go with those bangers? I found this great recipe for mashed cauliflower on foodnetwork.com and then modified it a touch to make it more buttery.
Ingredients (makes 4 medium portions)
- 1 medium cauliflower
- 1 tablespoon cream cheese (softened)
- 1/4 teaspoon grated Parmesan
- 1/2 of a small clove of garlic (or 1/2 teaspoon minced garlic) (I made the mistake of putting too much garlic on my first attempt by putting in one large clove of garlic, and it was seriously garlicky!)
- 1/2 teaspoon salt
- pinch of black pepper
- 3 tablespoon unsalted butter (softened)
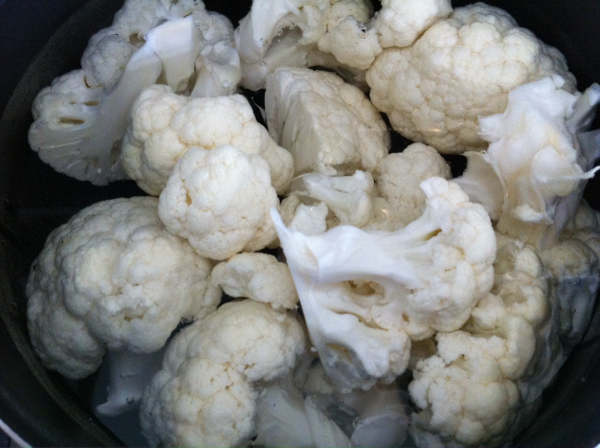
Cauliflower Florets in Boiling Water
- Boil a pot of water.
- Break up the cauliflower into florets and place into the boiling water (see photo above).
- Boil for 8 minutes on high heat (make sure the florets are pretty soft and easy to cut with a fork).
- Drain the cauliflower but do not cool. Instead, dry the florets with some paper towels and place into the food processor.
- Add the cream cheese, grated parmesan cheese, garlic, salt, pepper, and butter into the food processor and blend until it’s pretty smooth (see photo below). This may take a minute or two.
- Ready to serve. You can sprinkle some chives on top to make it look prettier – I mixed it into the mash (see the photo below).
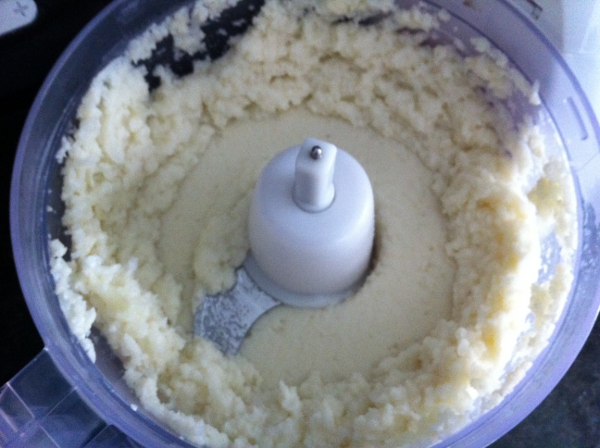
Cauliflower Mash in Food Processor
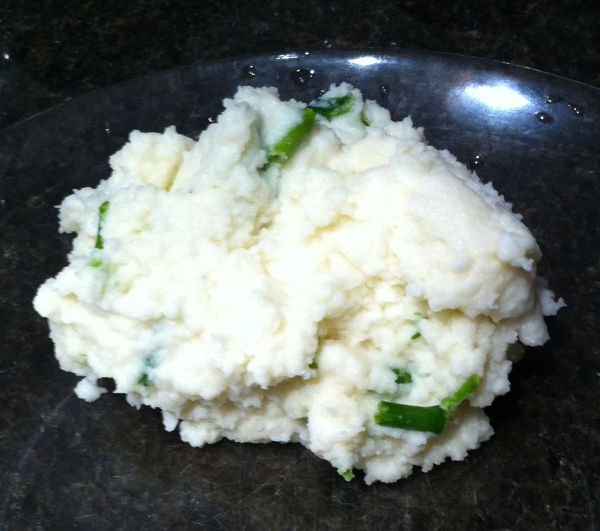
Cauliflower Mash
What Do You Get When Pork and Diary meets Dried Fruit?
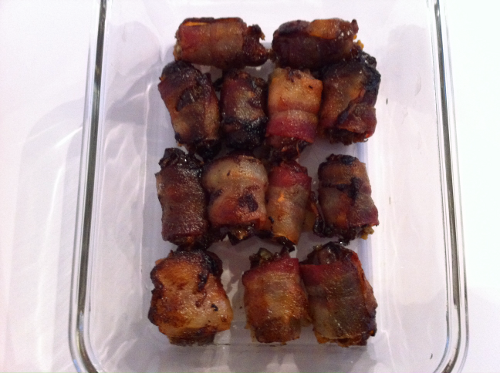
Bacon Wrapped Blue Cheese-Stuffed Dates of course!! I couldn’t stop thinking about these after having them at Traif last weekend. And they are so easy to make as I discovered from an allrecipes.com recipe. They are great as an appetizer or as a quick snack (or even as a dessert I think!). So here’s the recipe:
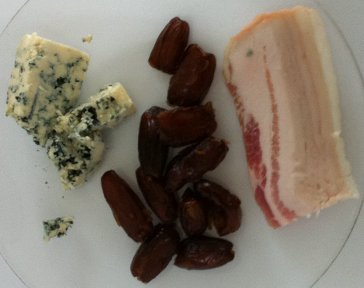
Ingredients (makes 14):
- 14 pitted dates
- 7 slices of bacon (cut each in half to create 14 shorter bacon slices)
- 0.2lbs of blue cheese (I just bought the cheapest one I saw at Wholefoods)
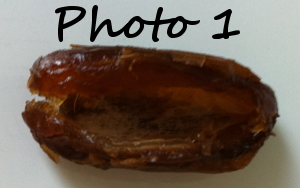
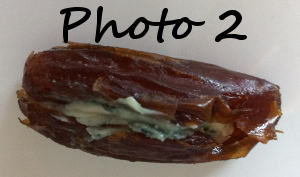
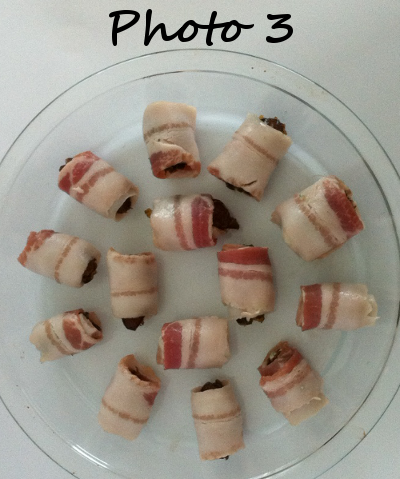
Preheat oven to 350F. Slice each date along one side so that it opens up as shown in photo 1. Fill the date with blue cheese and close it up (photo 2). Wrap one of the half slices of bacon around the date and place in a baking tray with sides (as the fat from the bacon tends to run) (photo 3). Then place the tray in the oven for 20min before flipping the bacon-wrapped dates over (I found tongs useful for this). Cook for another 10min (i.e. for a total of 30min) in the oven.
End Result: Deliciousness!
